Webex Contact Center Widget Bundling with Webpack
May 16, 2024

A Custom Agent Widget in the Webex Contact Center Agent Desktop is a third-party application that is configured in a desktop layout file that is accessible via Webex Contact Center admin in Control Hub. Previously, I covered all of the different types of Widgets available in my blog Unlocking the Power of Custom Widgets in Webex Contact Center. Some of the most powerful types of Widgets are built with Web Components.
Custom Web Component Widgets work best when they bundle all of their static resources (CSS, JavaScript, markup, and images) in a single file using a bundle library for consumption in the Agent Desktop experience. Think of this almost like a code compiler, but for web code! While developing I use the VS Code plugin Live Server for hosting locally (this saves the step of having to deploy your code somewhere) and Webpack for bundling.
Let’s Get Ready to Bundle
First, navigate to the project directory in Terminal (I am on Mac). Then, run the following command:
npm init -y
This will install a package.json file in our project to keep track of all dependencies. Then run the next command:
npm install webpack webpack-cli --save-dev
The --save-dev command will add Webpack to the package.json file as a dependency.
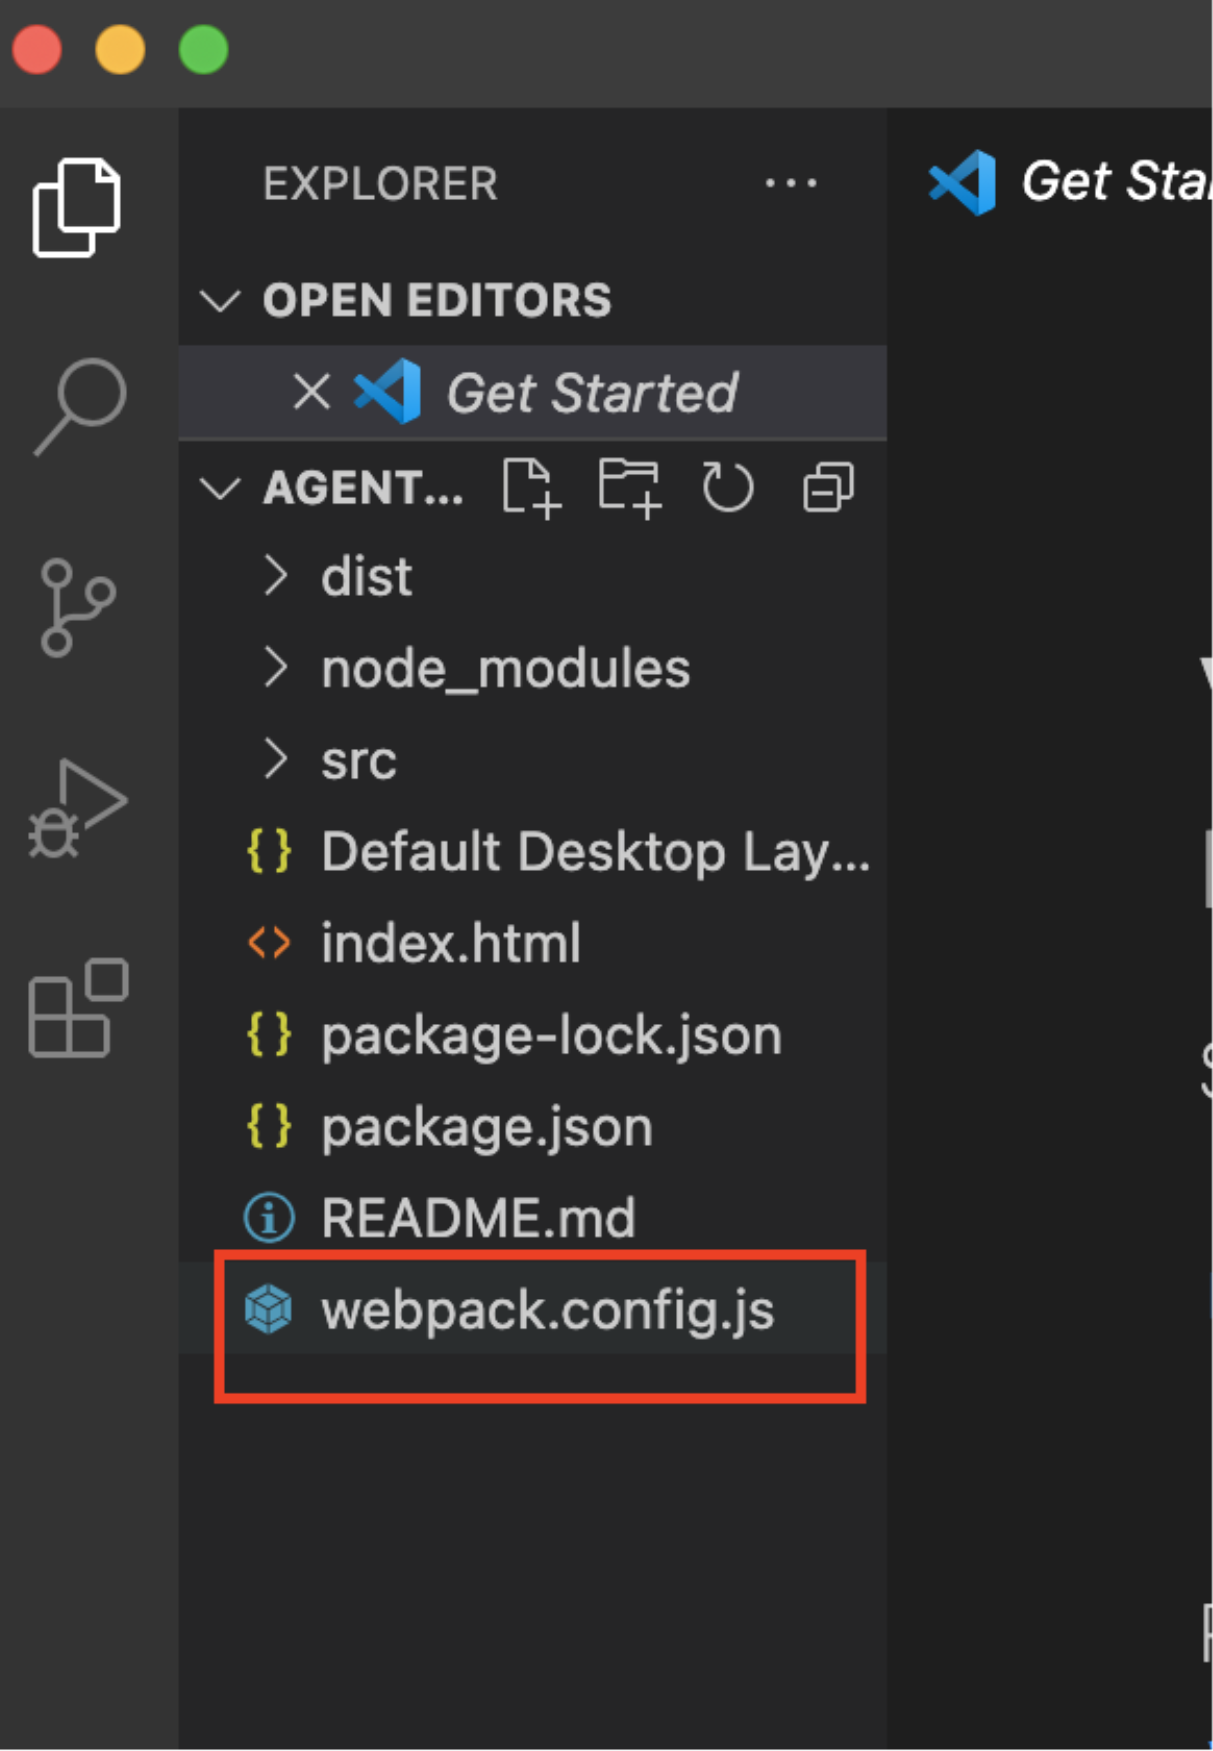
To align with best practices, at this point, I will set up a custom Webpack configuration file. I will add a file to the project directory called webpack.config.js, which will serve as a JavaScript configuration for directing Webpack on how I want my component bundled:
I can tell Webpack where the file that I want to be bundled is in the folder hierarchy with an entry property. I can tell Webpack what I want the bundle file to be named, and where to put it in my project with an output property. In my configuration file, I’ve chosen to use the standard convention of putting the bundle in the dist folder (short for “distribution”). The path module must be imported because Webpack requires the use of an absolute path when telling it where to put the bundled file:
const path = require('path');

module.exports = {
    entry: './src/agent-data.js',
    output: {
        filename: 'bundle.js',
        path: path.resolve(__dirname, './dist')
    },
    mode: 'none'
}
Then, in the Terminal, I can run Webpack with the following command:
npx webpack
As a result, there will be a new folder in the project called dist and a new JavaScript file in dist called bundle.js that we can host and point our agent desktop at. For more details on how to configure your desktop to import this bundle, be sure to read the blog Developing With Webex Contact Center Header Widgets: An RSS Feed Reader Example. I’ve prepared a small code example of a Widget being bundled by Webpack that you can review in this GitHub repo. Happy coding folks!
Need Some Help? We Got You Covered!
We are excited to provide you with support for these features. If you need help, the Webex Developer Support Team is standing by and happy to assist. You can also start or join a conversation on the Webex for Developers Community Forum.