Developer Sandbox Now Available
May 18, 2022

A Webex Developer Sandbox unlocks the ability to make Webex API calls that require Admin user permissions, or to manage a licensed Webex organization using Webex Control Hub. Once access to a licensed org is granted, you can create and test Webex Embedded Apps. What are the necessary steps to request access to a developer sandbox? Below we will go over the process for obtaining a Webex Developer Sandbox and its implementation.
Requesting a Developer Sandbox
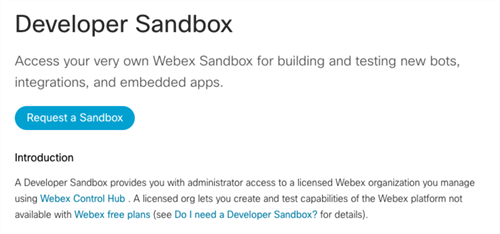
Once logged into the Webex Developer Portal you can navigate to the Developer Sandbox documentation and click the Request a Sandbox button. You will be prompted to accept the Terms and Conditions prior to submitting the request. After a few minutes you will receive an email with the credentials needed to log into Control Hub for your new test organization.

Signing in to Control Hub
It is recommended that when accessing Control Hub that you use a private or incognito browser window to perform the sign in to avoid any potential conflicts with your primary Webex account. Simply enter the credentials that were provided in the email that was sent when the request for a Developer Sandbox has been approved. Once successfully logged in to Control Hub, if you want to make calls against the Webex Admin APIs, you can open another tab within the private incognito browser session that you used to login to Control Hub, go to the Webex Developer Portal and select the login button and provide the provided credentials to sign in as the Admin user of the new test Webex organization. This will allow you to access a bearer token with permissions to make calls against the Webex Admin APIs or register an Embedded App for testing in the test organization account and submission to App Hub.
Creating a New Webex Embedded App
While logged into the Webex Developer Portal, you can click on the A icon in the top right corner of the screen. Then select the My Webex Apps option.

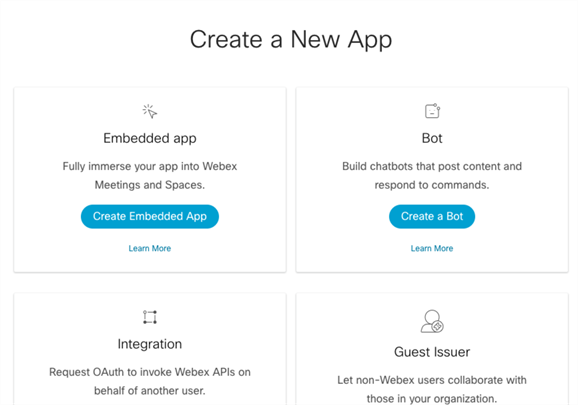
Next, click the Create new App button and select the Create Embedded App button from the app type options.

Here you will be required to provide the following information about the potential Embedded App:
- Identify if the Embedded App is intended to work in Meeting, Spaces, or both
- A name for the Embedded App
- A description of the Embedded App
- Upload or select an icon
- Include valid domains to be included as links in your Embedded App
- A start page URL that the initiator will load in the client before sharing the app
- Both in meeting start page URL and/or a messaging start page URL
- Select a layout preference for user experience
Once you have successfully provided all the required data, you can click the blue Add Embedded App button to finalize registering the embedded app and be prompted with a congratulatory message.

Enabling Your Embedded App for Testing
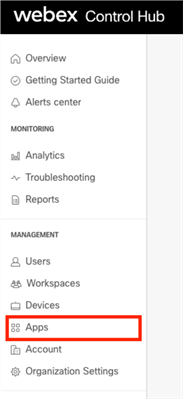
In Control Hub, on the left side of the screen in the Management section select the Apps option.

Then select Embedded Apps and go to the Private Section of listed Embedded Apps and enable the Show In-development apps option.

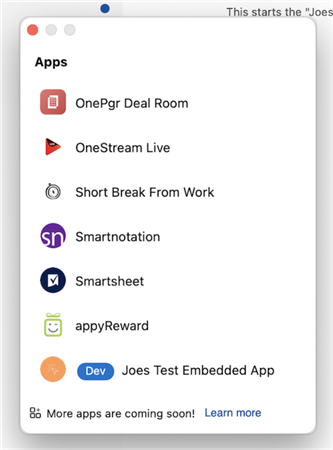
Finally, log into the Webex client using the administrator credentials. If you have selected the options for an in-Space Embedded App, you will be able to see the app listed as an option for use by the test org’s administrator by selecting the apps option from a Space in the Webex client.

Engage With Us
The Webex Developer Community has dedicated topics, discussion groups, and announcements. We encourage you to tell us about your experience setting up a Webex Developer Sandbox.